“Hey Billy!” – Turning a Singing Fish into a Smart Voice Assistant with ESP32 and Home Assistant
You can watch the full video below, if you prefer ;)
Voice assistants are everywhere — Alexa, Google Assistant, Siri — but let’s be honest: most of them sound a little dull and lifeless.
So I asked myself: how can I make one with a bit more personality?
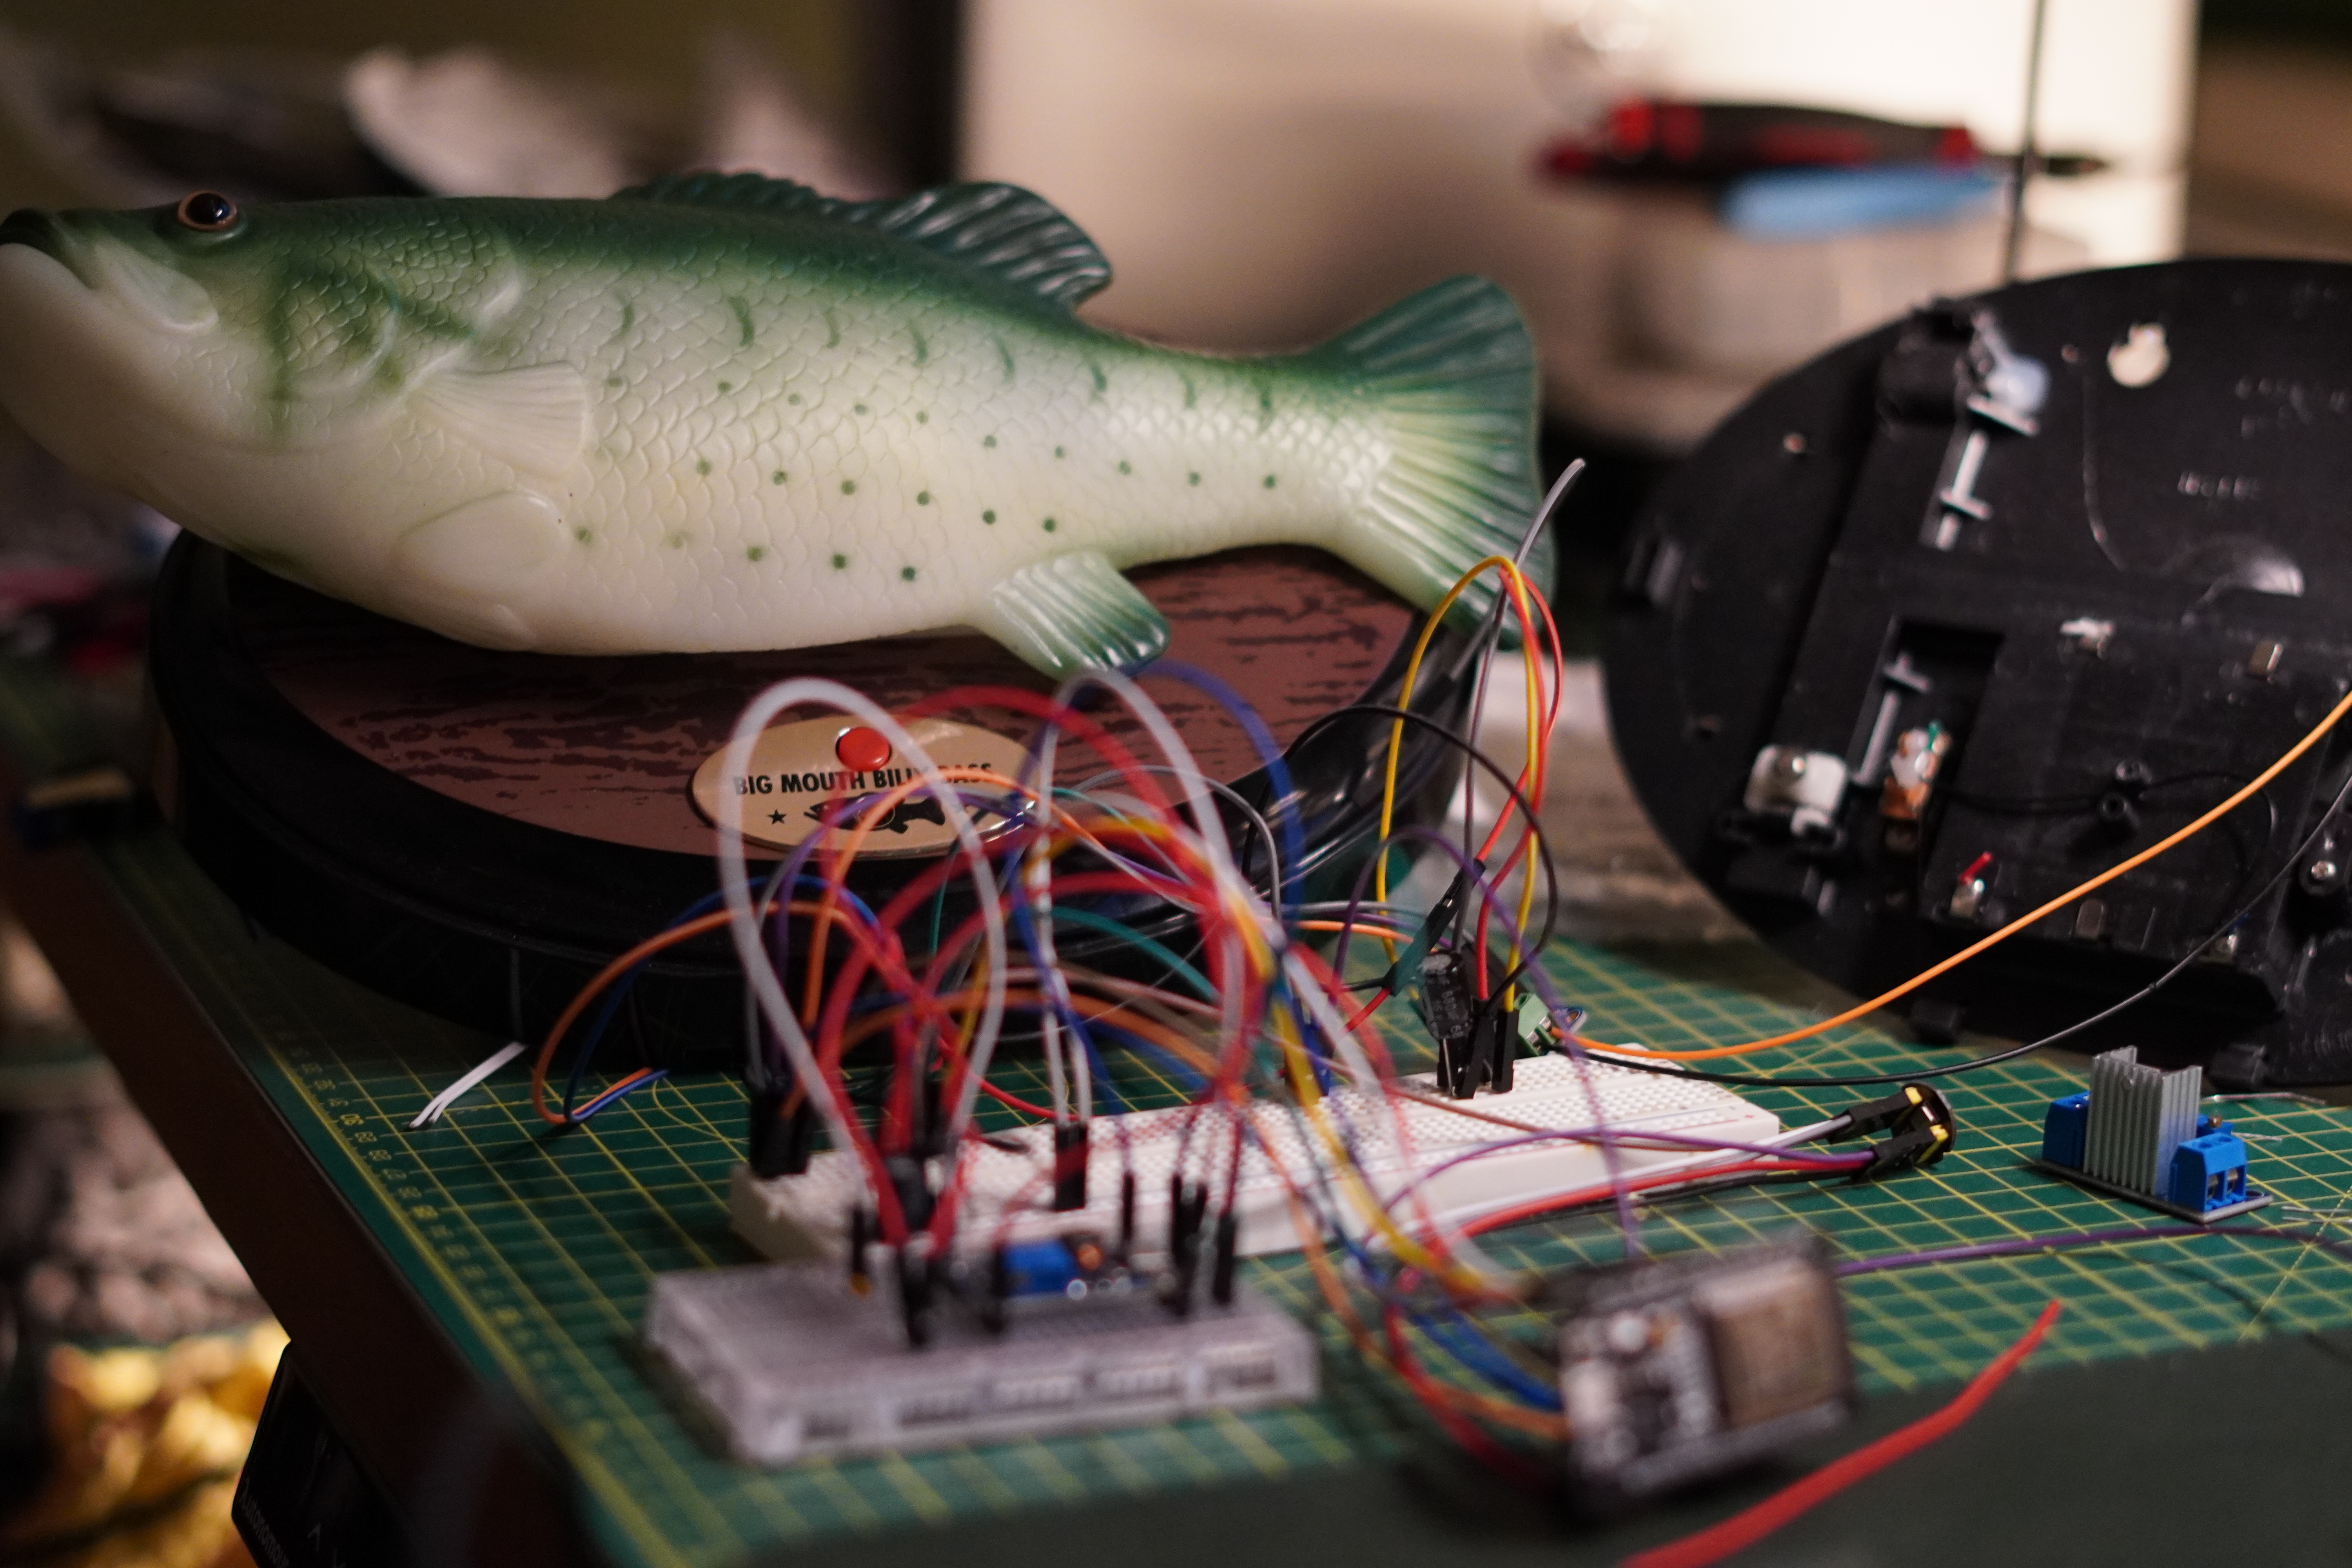
Enter Billy Bass, the singing fish — or, as he’s about to become, a super-intelligent smart assistant powered by ESP32, ESPHome, and Home Assistant’s Summer of AI features.
This project combines custom wake word detection, real-time audio processing, and OpenAI-powered conversations — all brought to life inside a classic 1990s talking fish.
Project Overview
The goal was simple:
Take a classic Billy Bass toy and turn it into a fun, responsive AI assistant that reacts naturally when you say “Hey Billy.”
With ESPHome, OpenAI integration, and Home Assistant’s new AI tasks, Billy can now:
Wake up when you call his name
Move his mouth and tail in sync with speech
Talk back using AI-generated voice
Control smart devices like lights
Tell bad fish jokes (of course 🐠)
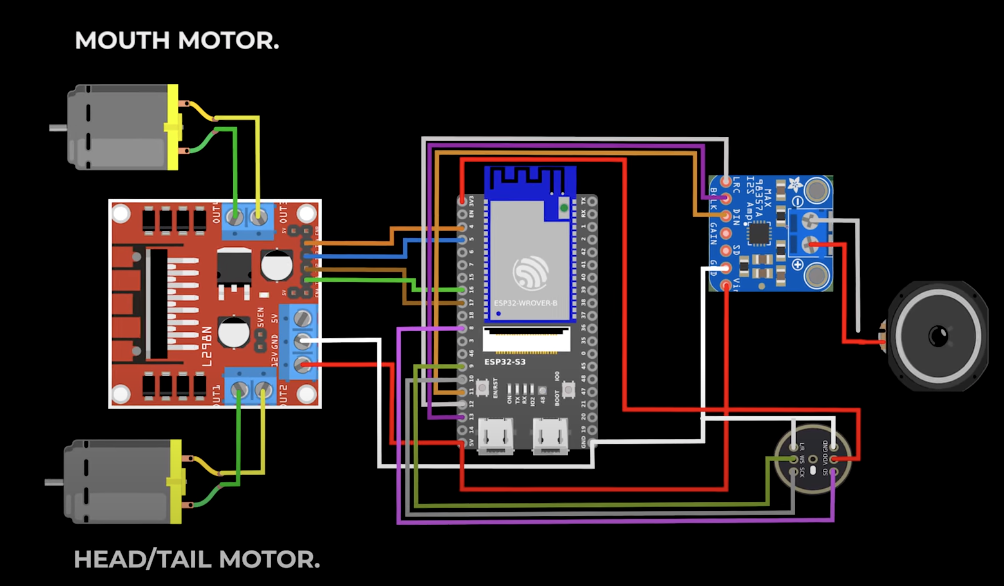
Hardware Components
Let’s look at the essential parts that make this project work.
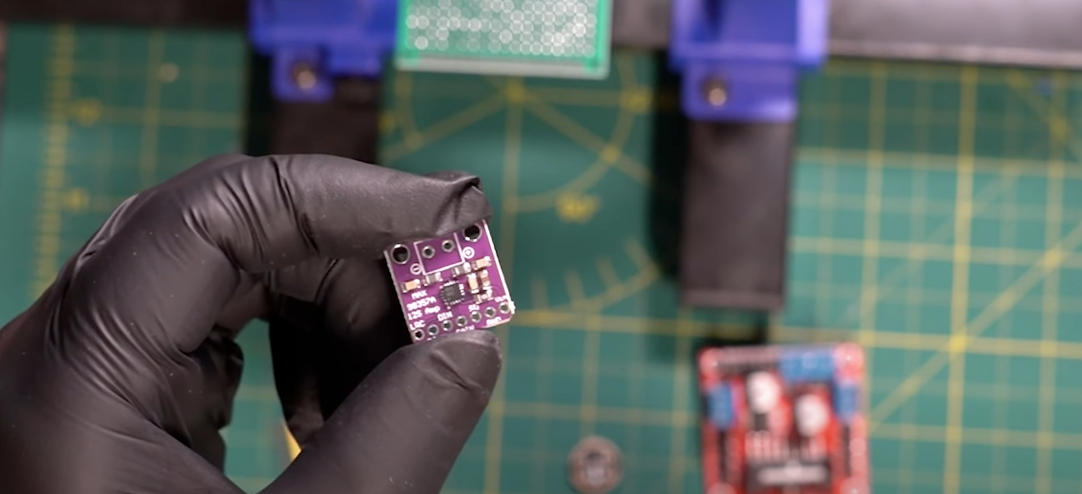
MAX98357A I2S Amplifier
The ESP32 can output digital audio, but not at speaker power levels.
The MAX98357A converts the digital I2S stream to analog and amplifies it up to 3 W, perfect for the built-in Billy Bass speaker.
INMP441 I2S Microphone
This microphone sends digital audio data via I2S, giving the ESP32 clear voice input without analog noise.
Billy uses it to hear your wake word and voice commands.
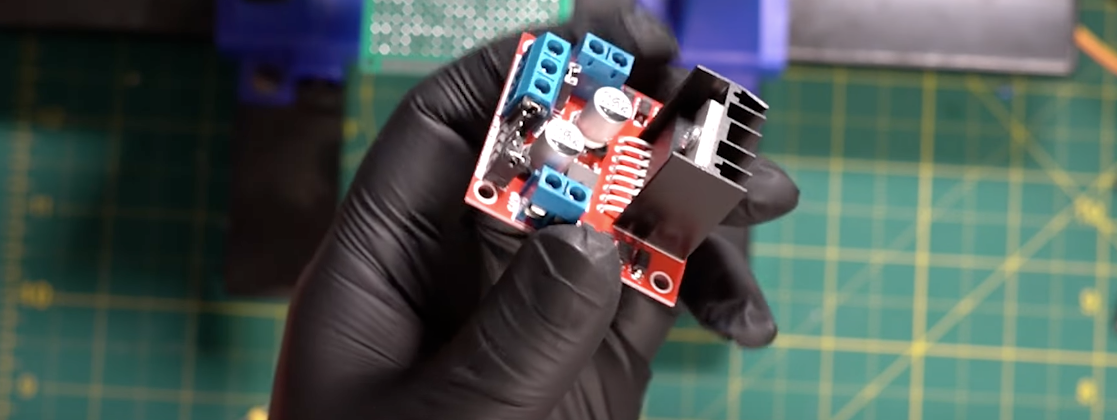
L298N Dual H-Bridge Motor Driver
Controls Billy’s mouth, head, and tail motors.
The ESP32’s GPIOs send logic-level signals to the H-bridge, which then drives the DC motors forward and backward to animate Billy.
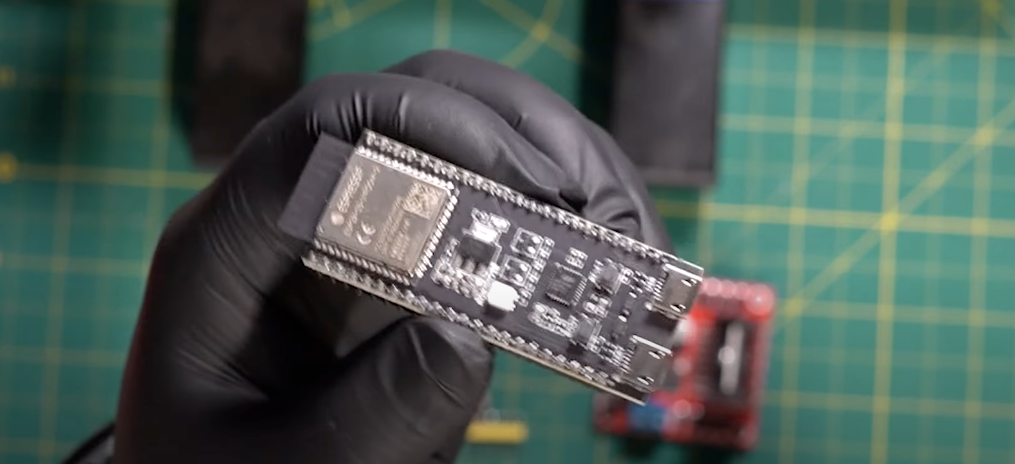
ESP32-S3
The brains of the operation — handling:
Digital audio input/output
Motor control
AI conversation logic
Custom wake word detection
The S3 variant includes hardware acceleration for machine learning, perfect for voice and wake word processing.
PCB and Power
A simple double-sided PCB ties everything together.
Power is shared — the 5 V line feeds the ESP32, amplifier, and motor driver.
The microphone’s L/R pin is tied to GND so it always uses the left channel.
Rebuilding the Fish
After opening up the original Billy Bass, most of the old circuitry can go — keep only:
The speaker
The mouth and tail motors
To fit the new electronics neatly, I designed a custom 3D-printed backplate to replace the original.
Huge thanks to Thom Koopman, who originally modeled the Billy Bass backplate and shared it on MakerWorld and GitHub.
His design fits the ESP32 and L298N perfectly.
Once printed (on my Bambu P1S, since my Ender 5 Pro gave out), the new backplate provides:
Mounts for the amplifier and motor driver
Cutouts for the speaker
A clean layout for the wiring and PCB
Flashing the ESP32-S3
With the hardware ready, it’s time to program the ESP32.
I flashed it using ESPHome with a custom external component called billy_ai, which I wrote for real-time mouth movement and AI conversation handling.
This component:
Hooks into the I2S audio stream
Measures audio loudness in real time
Publishes a percentage level (0–100%) for the motor control
Keeps everything synchronized with the playing sound
ESPHome YAML Overview
The YAML configuration ties together all major features:
voice_assistant block manages audio input/output
Microphone (I2S) for capturing speech
Amplifier (I2S) for playing responses
Custom wake word: “Hey Billy” using OpenWakeWord
Scripts to map loudness levels to motor movements
Motor drivers controlled via H-bridge pins
Audio in → processed by Whisper (speech-to-text) → fed into OpenAI → response generated → played back with Piper (text-to-speech).
Billy’s mouth and tail motors move dynamically based on loudness peaks, so he “talks” in sync with his own voice.
Testing and Troubleshooting
Early wake word tests were… chaotic.
Sometimes Billy responded; sometimes he didn’t.
The speaker buzzed with static, and the tail would twitch randomly.
That’s DIY electronics for you — a mix of frustration and discovery.
After tweaking gain settings, grounding, and timing parameters, it all came together beautifully:
🗣️ “Hey Billy, what time is it?”
🐟 “Mate, it’s 12:49 PM.”
🗣️ “Hey Billy, turn on the office lights.”
🐟 “Lights are on!”
🗣️ “Hey Billy, tell me a joke.”
🐟 “Why did the fish blush? Because it saw the ocean’s bottom!”
Now that’s a smart assistant with real character.
Wrapping Up
This project turns a nostalgic novelty into a living, talking AI companion.
With ESP32-S3, ESPHome, and Home Assistant’s AI tools, you can build assistants that aren’t just useful — they’re alive.
You’ve now got:
Real-time voice interaction
AI responses via OpenAI
Smart home integration
A moving, talking Billy Bass
The full source, 3D models, and ESPHome YAML are available on my GitHub repository.
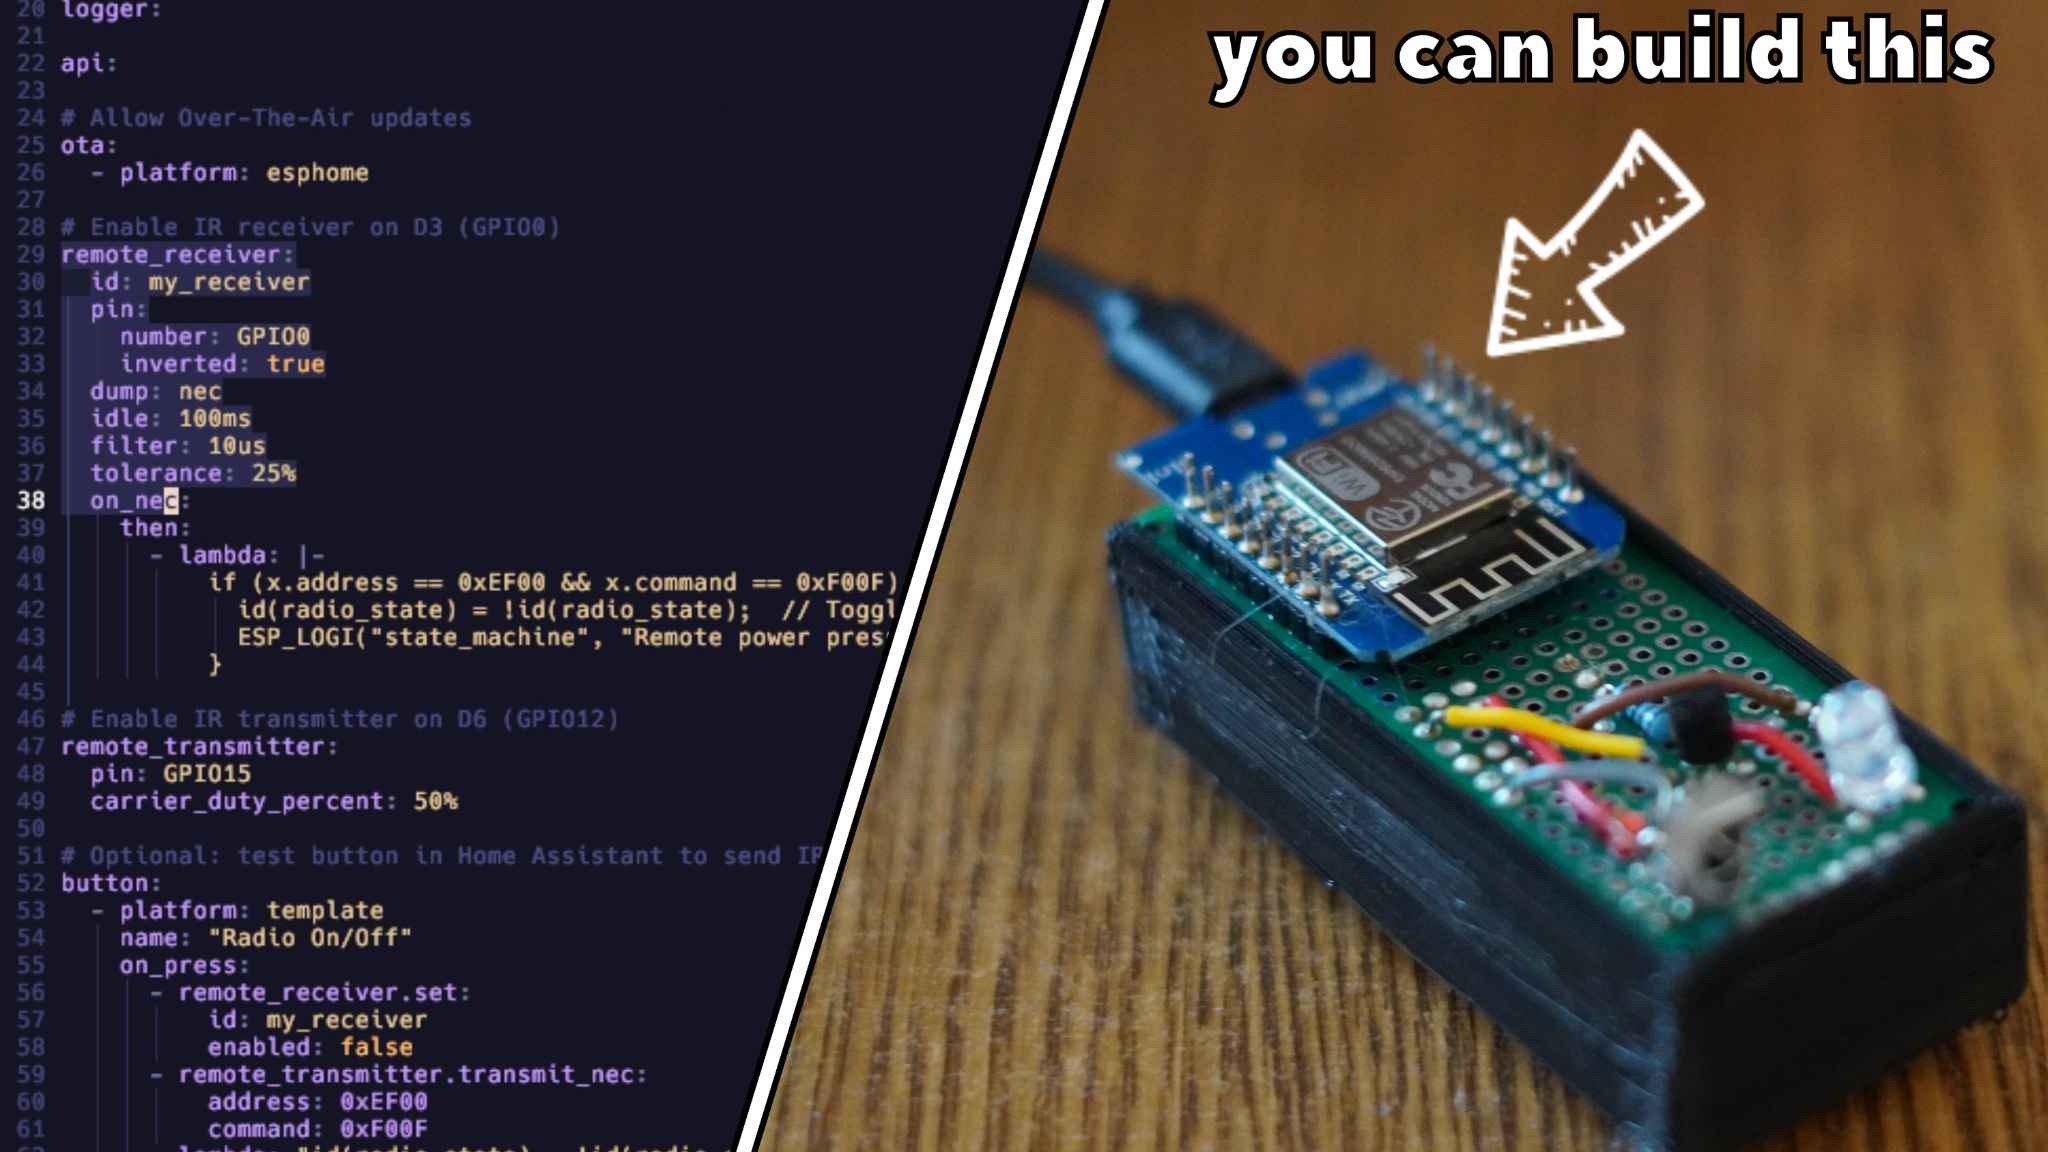
How to Build an ESP8266 Infrared Smart Controller for Home Assistant
Turn your old infrared-controlled devices into smart home gadgets! This step-by-step guide shows you how to build an ESP8266 IR controller that can both receive and send signals, integrate with Home Assistant or Alexa, and stay in sync with your original remote. Includes full wiring, ESPHome YAML, and testing walkthroughs.

