
Building a CO2 sensor using a Pi PicoW & automating a home ventilation system part 2
The second in a 3-part series giving a walk-through of creating a custom co2 sensor using the raspberry pi picow and hooking it up to a home ventilation system.

Posted on Wednesday 2nd July 2014
Hello, I’m back again with the 3rd installation of my MVC Framework in PHP series, again apologies that it took so long! Now without further ado, let’s get straight into it!
We left of last time having created our index page view.
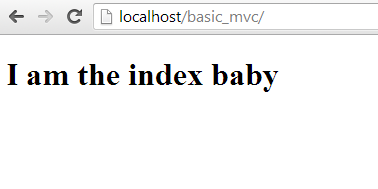
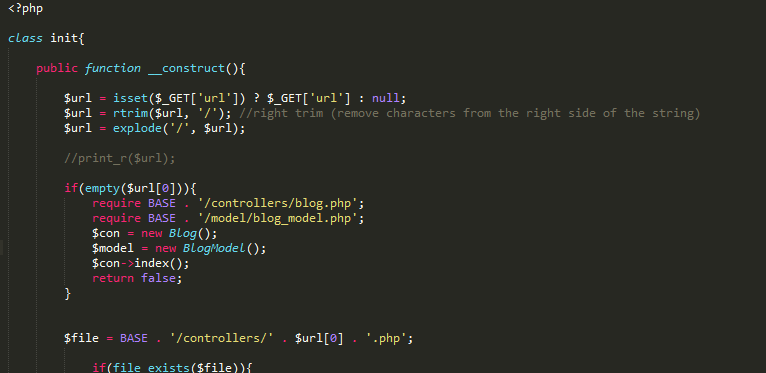
What I’m going to show you today is how to render an existing page chosen, as well as start with styling our pages with bootstrap and get it looking like a real site. To start, we’re going to need to open our Init.php file in our /libs folder. Your file should more or less look the same as last time as so:
class Init{
public function __construct(){
       $url = isset($_GET['url']) ? $_GET['url'] : null;
       $url = rtrim($url, '/');
       $url = explode('/', $url);

		if(empty($url[0])){
			require_once BASE_PATH . '/controllers/index.php';
			$index = new Index();
			$index->index();
			return false;
		}
}
}
What we’re going to do is check to see if a controller exists from the URL specified by the user. If it does exist we’re going to require that file so we can then instantiate it. So right after our previous if statement we are going to write:
// Check if page exists
$file = BASE_PATH . '/controllers/' . $url[0] . '.php';

if(file_exists($file)){
// If it does, require it, and instantiate it
require_once $file;
$controller = new $url[0];
} else {
// Log an error to user
}
As stated, this will check to see if the file exists, if it does we require in that file, and then instantiate it for use. The important thing now though, is our else. If no such file exists we need to log an error to the user acknowledging this fact. We’ll come back to our Init.php file in a moment, let’s go and make an error controller.
Go to our controllers/ folder, and create a file called error.php. The structure of the file is going to look much the same as our previous controller, except for a minor difference. We’re going to pass in an argument our error class constructor so we can render it to the page.
<?php

class Error extends Controller{

	public function __construct($error){
		parent::__construct();
		$this->view->errors = array($error);
	}

	public function index(){
		$this->view->render('error/index');
	}
}
Now, same as before go to your views folder, and create a new folder called error and inside it a file index.php. Within our index.php we’re going to check if our errors array has been set, if it has we then render our errors to the page for the user to see.
<h3>Error Page</h3>
		<?php
			if(isset($this->errors)){
				foreach ($this->errors as $key => $er) {
					?>
					<p id="error<?=$key;?>"><?php echo $er; ?></p>
					<br>
					<?php
				}
			}
		?>
As you will see later when we test this class, if a user were to try to visit a URL that does not have a file associated with it, they will be routed to our error controller, and displayed an error accordingly. So let’s go back to our Init.php to test this out.
Outside of our constructor we are going to create a method called init_error to test. It will take a string variable as argument, require our error controller, instantiated our object and then render it. It will look like this:
private function init_error($errors){
		require_once BASE_PATH . '/controllers/error.php';
		$error = new Error($errors);
		$error->index();
		return false;
	}
Back in our constructor we can now modify the last if / else statement we made. To explain what this does: After we instantiate our object we want to check if the URL is attempting to route to a method within the specified class .It could be something like http://ciangallagher.net/aboutme/myname which might return my name as a string as an example. The full code looks like this:
if(file_exists($file)){
// Require file
require_once $file;
// Instantiate class
$controller = new $url[0];
// Check if method is set
if(isset($url[2])){
if(method_exists($controller, $url[1])){
// Instantiate class, with specified method if it does exist
$controller->{$url[1]}($url[2]);
} else {
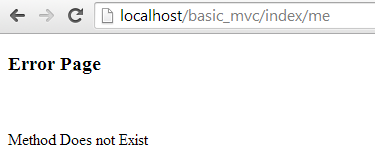
$this->init_error('Method Does not exist');
}
} else {
if(isset($url[1])){
if(method_exists($controller, $url[1])){
$controller->{$url[1]}();
} else {
$this->init_error('Method Does not Exist');
}
} else {
// Render to view
$controller->index();
}
}
} else {
// Log error to use
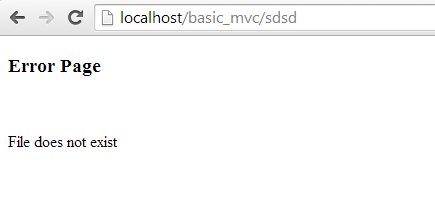
$this->init_error('File does not exist');
}So now when I try to go to an invalid URL I will see this:
The same for an invalid method:
Now I think it’s time we started added some styles to our site so we can actually start making it look like a website. The first thing you’re going to need to do is download the latest version of Bootstrap. As of writing that is version v3.2.0. It can be found here: http://getbootstrap.com/getting-started/. After you’ve done this, it’s time to change up our folder structure to accommodate for these changes. After you’ve donwloaded bootstrap, extract it, and you should see 3 folders they are your fonts, css, and js.
In your public folder of your site (which should currently be empty) i want you to make 3 new folders called css, js, images and fonts. It should look like this:

All we have to do now is extract our bootstrap files accordingly into their obvious folders `css -> css` etc. After you’ve done this we’re going to our config folder and create a file within called config.php. Within config we just need to define a base URL that can be used across the site (this can be changed as needed on live/test instances.) mine will look like this, yours may differ depending on your path.
<?php

//define base URL
define('URL', 'http://localhost/basic_mvc/');
Also, don’t forget to include this in your root index file, otherwise you won’t be able to use it! Now with that done, let’s go to our header.php and start adding our styles. We’ll start with adding our bootstrap.css. As you can see we’re using our defined URL as our path and then specify the file and location.
<!DOCTYPE html>
<html>
<head>
	<title>MVC</title>
	<link rel="stylesheet" type="text/css" href="<?php echo URL . 'public/css/bootstrap.css'; ?>">
</head>
In our footer.php we will also include Bootstraps js file and jQuery from Googles CDN.
<script type="text/javascript" src="<?php echo URL . '/public/js/bootstrap.min.js'; ?>"></script>
<script src="//ajax.googleapis.com/ajax/libs/jquery/1.11.1/jquery.min.js"></script>
</body>
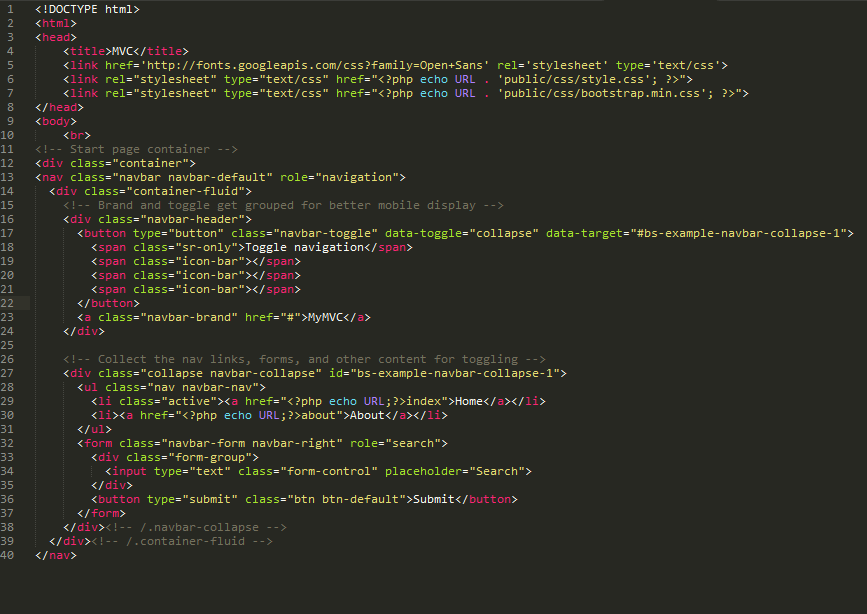
</html>Now let’s go back to our header.php file and using bootstraps pre-defined mark-up http://getbootstrap.com/components/#navbar we can make ourselves a navigation bar. The full code for the header.php will look like this:
<!DOCTYPE html>
<html>
<head>
<title>MVC</title>
<link href='http://fonts.googleapis.com/css?family=Open+Sans' rel='stylesheet' type='text/css'>
<link rel="stylesheet" type="text/css" href="<?php echo URL . 'public/css/style.css'; ?>">
<link rel="stylesheet" type="text/css" href="<?php echo URL . 'public/css/bootstrap.min.css'; ?>">
</head>
<body>
<br>
<!-- Start page container -->
<div class="container">
<nav class="navbar navbar-default" role="navigation">
<div class="container-fluid">
<!-- Brand and toggle get grouped for better mobile display -->
<div class="navbar-header">
<button type="button" class="navbar-toggle" data-toggle="collapse" data-target="#bs-example-navbar-collapse-1">
<span class="sr-only">Toggle navigation</span>
<span class="icon-bar"></span>
<span class="icon-bar"></span>
<span class="icon-bar"></span>
</button>
<a class="navbar-brand" href="#">MyMVC</a>
</div>
<!-- Collect the nav links, forms, and other content for toggling -->
<div class="collapse navbar-collapse" id="bs-example-navbar-collapse-1">
<ul class="nav navbar-nav">
<li class="active"><a href="<?php echo URL;?>index">Home</a></li>
<li><a href="<?php echo URL;?>about">About</a></li>
</ul>
<form class="navbar-form navbar-right" role="search">
<div class="form-group">
<input type="text" class="form-control" placeholder="Search">
</div>
<button type="submit" class="btn btn-default">Submit</button>
</form>
</div><!-- /.navbar-collapse -->
</div><!-- /.container-fluid -->
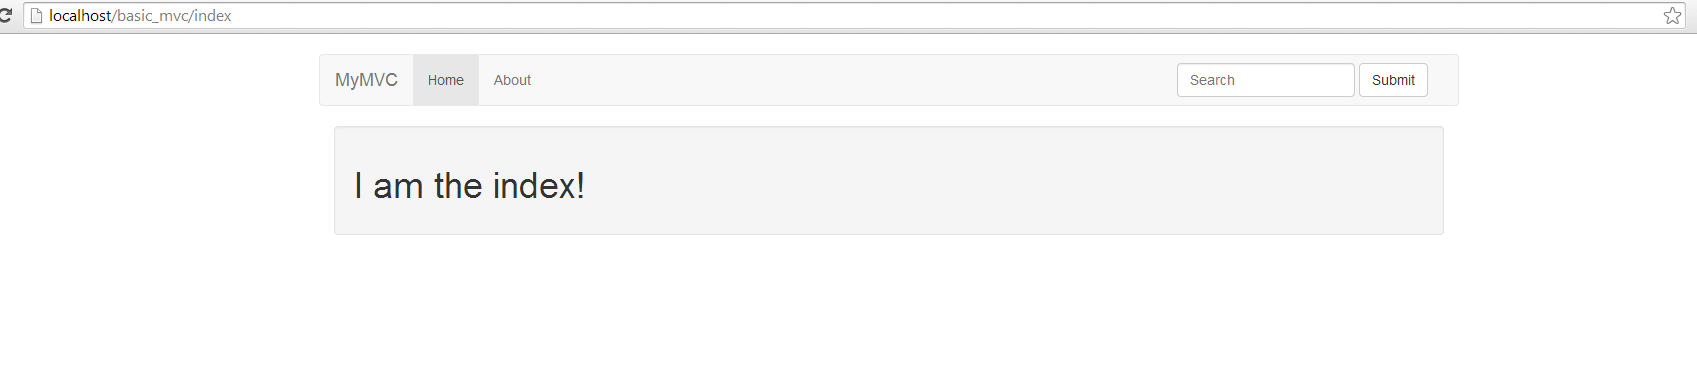
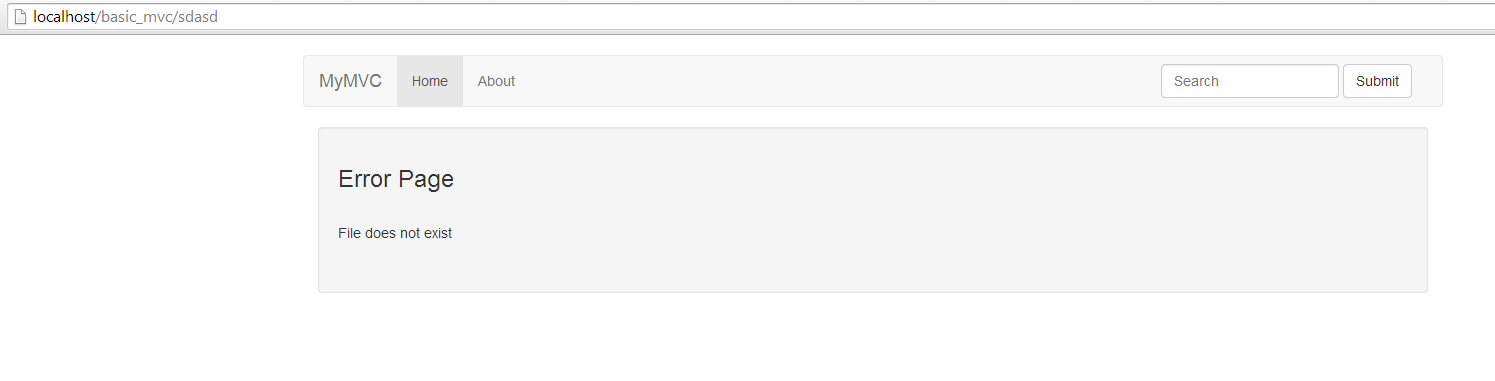
</nav>And look at that! We can now navigate between our pages, and it’s starting to look more like a site!
**Well enough writing for one day, i will hopefully be back sooner with Part 4. Check back soon! The full source code is also available on github, just follow the link below.
The second in a 3-part series giving a walk-through of creating a custom co2 sensor using the raspberry pi picow and hooking it up to a home ventilation system.
The first in a 3-part series giving a walk-through of creating a custom co2 sensor using the raspberry pi picow and hooking it up to a home ventilation system.
Announcing the release of switchboard v1.0.0 and switchboard-pro.


)